Tuesday, January 31, 2012

The Gourmet Pantry 1 year Blogg-iversary!!


Well folks, it has officially been one year since we embarked upon this culinary tour that we have called "The Gourmet Pantry," trying to bring you all some simple yet amazing recipes that every New Yorker, non-New Yorker, cook, and non-cook can enjoy. And let me tell you, it has been one hell of a ride. From the initial gut-wrenching excitement when we first hit the "publish" button, to the stressful weeks where we were both certain we had given up on logging our kitchen stories.

Needles to say, we have loved every minute of sharing our awesome, not so awesome, and funky recipes with you. To celebrate this occasion, we decided to throw a little shin-dig and invite some of our closest friends, followers, and foodies (and Foodies & Fatties to be specific) over to eat these goodies we keep telling you all about!

Appetizers, desserts, champagne, wine.... and many Celine Dion songs later, it was one happy-go-lucky scene. In keeping with our Gourmet Pantry tradition, we took some old recipes, some new ones, and wanted to share with you all the fun fixings.

Thank you all for following us, and here's to another year of Gourmet Pantry deliciousness, and all that it may bring to the table- pun intended!


Party Please #1- Gouda Stuffed Dates w/ Bacon

Ingredients:
1 box pitted dates, about 20 dates
1 package pre-made pie crust (2 sheets per package, Pillsbury is best)
1 lb bacon, strips cut in half
1 block smoked gouda cheese

Preheat oven to 400F. Next, take out the pie crust (make sure it is defrosted fully if was frozen), and roll one sheet out onto a lightly floured surface. Next, assemble the dates:
Chop the gouda cheese into 1 inch cubes. Stuff the gouda cubes into the dates where the pit should be (be careful to check dates, sometimes pitted store bought dates miss one or two!). Take one strip of bacon and wrap around the date. Place date on the rolled out sheet of pie crust, and assemble the next one. Be sure to leave 2-3 inches in between the dates from each side (depending on how large your dates are). When all is done, place the second pie crust sheet on top of the dates, seal, and cut. Pinch the ends up with your sides to form fit the date so it looks like one little football. Make a tiny slit on top to allow air out while cookie, and stick onto a baking tray for 15-20 minutes or until crust is browned on edges and cooked. Serve with a toothpick. Vegetarian version- just leave out the bacon!


Party Pleaser #2: Turkey Meatballs with Soy Glaze Reduction

In the party snacks department, tiny meatballs will always win over a heart attack inducing 7 layer dip or stale peanuts/popcorn! These Scallion Turkey Meatballs were the perfect addition to our Bloggi-versary and a nod to Chinese New Year!
Moist, succulent, salty and sweet; the soy sauce and sesame oil glaze on top just elevated the experience of popping one of these babies in your mouth! The meatballs were so popular at our party that they were gone before we could say “Holy Meatballs!”

Ingredients:
(meatballs)
1 pound ground turkey
4 large scallions, finely chopped
½ cup cilantro, finely chopped

1 egg
2 tablespoons sesame oil

2 tablespoons soy sauce (I used low sodium and the salt content was fine!)
Freshly ground black pepper
(Soy Sesame Glaze)
1/2 cup dark brown sugar
1/2 cup water
1/2 cup soy sauce (I used reduced sodium in order to control the saltiness)
1/2 cup white wine (I used a slightly dry wine)

2 heaping tablespoons of your favorite chili garlic sauce (e.g. Sriracha Sauce)
1 large piece of peeled, chopped ginger

1 teaspoon ground coriander powder
1 teaspoon freshly ground pepper

Vegetable oil to cook the meatballs

Make meatballs:  You can actually mix the meatballs a day or two in advance and store in an airtight container. This saved me a lot of time!

I, however, cooked the meatballs an hour before the party started. They did not take very long and were warm and moist!
Mix turkey, scallions, cilantro, egg, sesame oil, soy sauce and black pepper in a bowl.
In a skillet over medium-high heat, generously cover bottom of pan with vegetable oil.
I used a teaspoon to roll out bite-sized portions of the meatballs. Simply cook with a teaspoon and drop into the hot skillet. Worked perfectly!
Turn the meatballs, until browned all over and cooked inside, about 8 minutes per batch (My skillet held about 12 per batch, cooking time would need to be adjusted based on the stove you use, electric or gas)
Once cooked, let the excess oil drain by placing the meatballs on some kitchen paper towels

Make the sauce/glaze The sauce can also be made up to 2 days in advance and refrigerated until needed. When you drizzle it over the warm meatballs it’ll be nice and gooey and stick to the meat instead of sliding off the sides.
In a large saucepan bring sugar and water to a boil.
Reduce heat to a simmer and add soy sauce, wine, chili garlic sauce, ginger, coriander powder and pepper.
Simmer, stirring occasionally, until reduced by half. (This took me about 40 minutes, because I wanted to achieve a more syrupy consistency).
Once it has reduced to your satisfaction, strain through a sieve and store in a squeeze bottle

Assemble the Meatballs: Stick each meatball with a fancy toothpick and place on a serving platter. Now drizzle the glaze over the meatballs, be generous! You can place the leftover glaze on the table, in case your guests would like more. I noticed our guests pouring that glaze over everything! Even the Biscotti!


Party Pleaser #:  Cheesecake Stuffed Strawberries

If the turkey meatballs didn't last 40 minutes, these didn't last 15. I mean, just re-read the title: Cheesecake. Stuffed. Strawberries. I don't need to explain further, other than show you how it's done. Try not to stare too long at this one, the pressure and salivating will become unimaginable until you just can't take the pressure anymore, and are forced to do it yourself. Trust me, this one is worth the effort!

Ingredients:

(Crust)
2 cups crushed graham crackers
1 stick melted butter

(cake)
2 8 oz packages cream cheese
3 large eggs
1 pint sour cream, full fat
1 cup sugar
1 tsp vanilla

3 pints fresh strawberries - the larger the better

Preheat oven to 300F. In a bowl, crush mix the crushed graham crackers with melted butter. Grease an 8 inch springform pan, and pour crust into the pan. Smoosh down with hands until even layer is formed. Refrigerate for 5-10 minutes.

Meanwhile, in a bowl with an electric hand mixer, beat the cream cheese until light and fluffy. Add the eggs one at a time. Mixing until combined. Add the tsp vanilla, sugar, and whip until sugar is creamed, 2-3 minutes. Add the sour cream and mix until just incorporated, another 30 seconds - 1 minute. Pour batter into crust, and bake for 40 minutes. *Note, the cheesecake will still jiggle considerably in the middle, but will harden during refrigeration and this recipe baking time is intended to use the cake as a filling, so even after refrigerated it will be very smooth and lose. This will making piping into hollowed out strawberries much easier. Refrigerate cheesecake for at least 30-40 minutes.

As the cake cools, wash and rinse your strawberries. Pat dry with a paper towel. With a pairing knife, trip off the top and hollow out as much of the berry as you can without puncturing a hole. This take some practice, and use the tiniest knife you can find. Once they have all been hollowed out, take the cheesecake out and let come up to room temperature for 5-10 minutes. Scoop out the cheesecake (leave the graham cracker in tact to crumble on top later if desired), and pour into a piping bag (or a large plastic bag with an edge snipped off to resemble one). Pipe into strawberries and chill in refrigerator for another 15-20 minutes so they are cold upon serving. Sprinkle with crumble graham cracker crust, fresh graham crackers, chocolate syrup... or nothing. These are AMAZING as is...... (wipe that drool off your chin, please, you're getting the computer dirty)


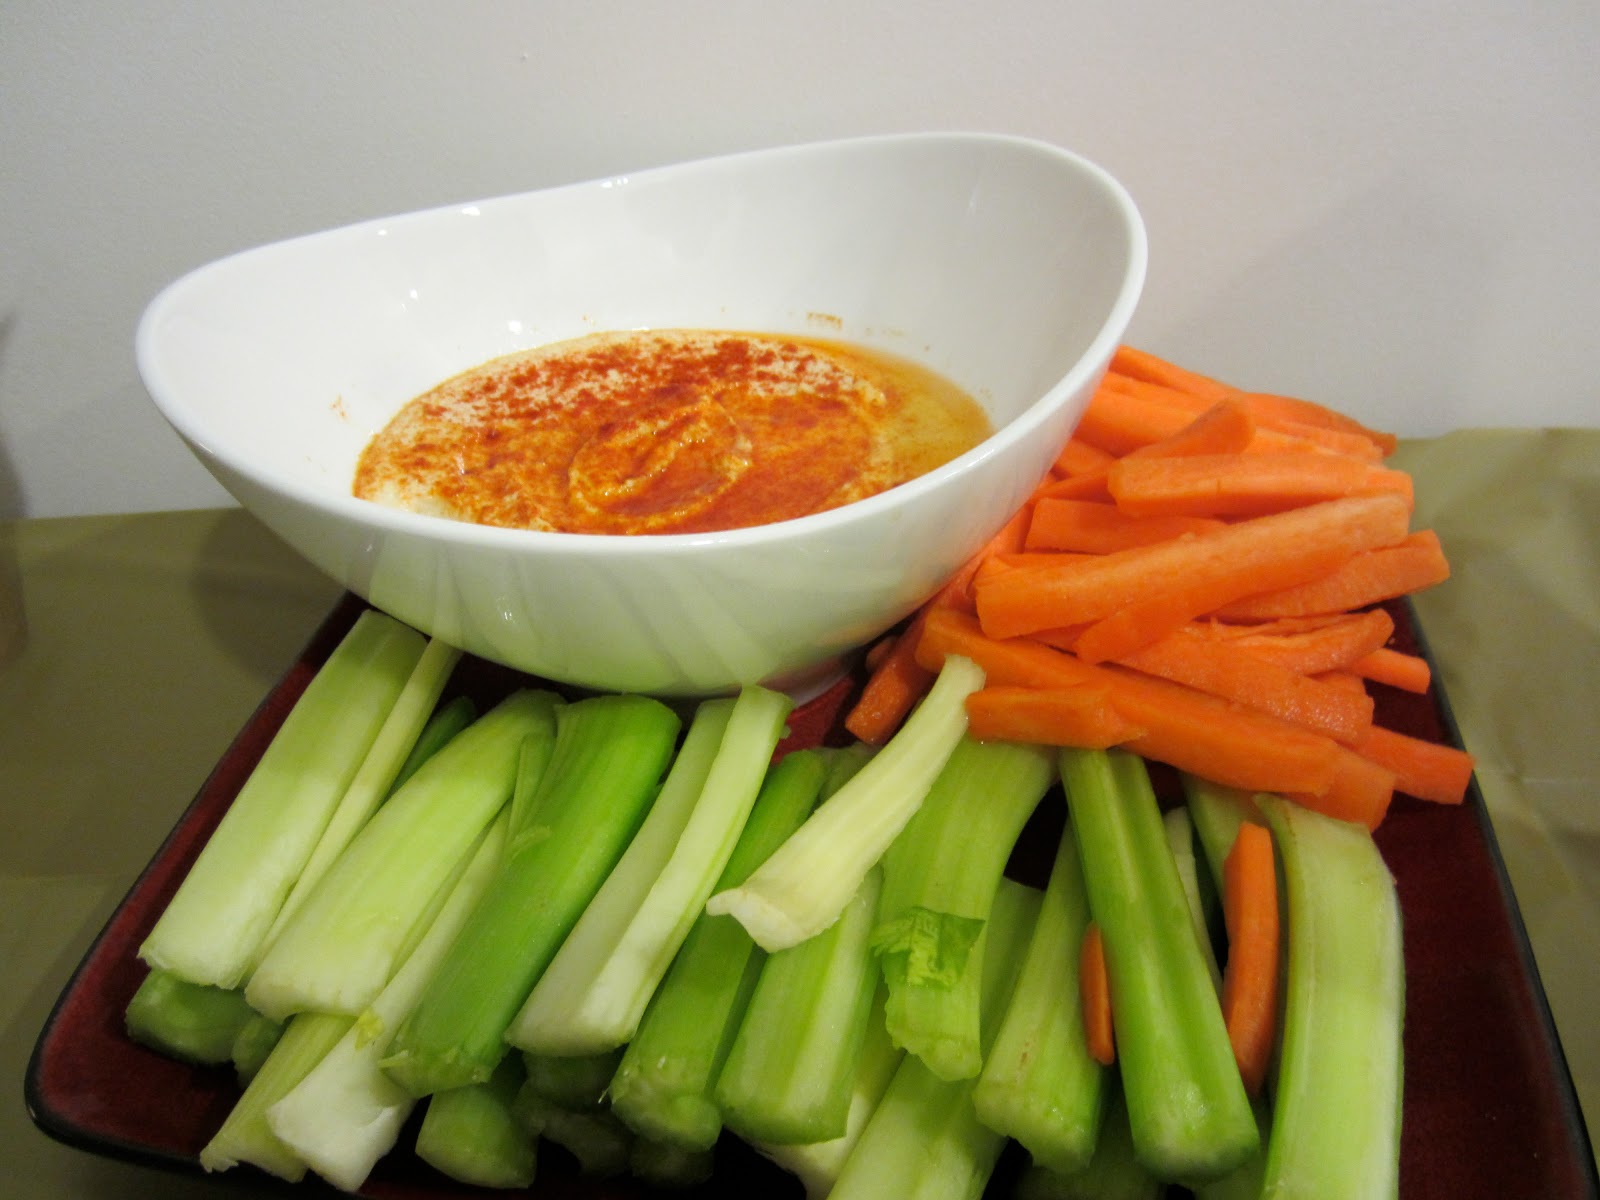
Other items included a savory biscotti of Parmasan cheese & Herbs De Provence with a vodka tomato cream dipping sauce, homemade crostini & herbed butter with onion marmalade topped with goat cheese, Indian spiced vegetable fritters, and of course... lemon, strawberry & vodka shot cupcakes! If you'd like the recipes, just give us a shout!!!


Life isn't always about having what you want... it's wanting what you've got. Keep cooking!!!!

Love
The Gourmet Pantry ladies

Tuesday, January 24, 2012

Spiced Chocolate Brownies with Chocolate Whipped Cream

In case you were wondering where winter went this year, it has finally showed it's face. In true white fluffy fashion, the flakes are falling and it's about that time. You know, time to lay down on the couch in your snuggie (yes, snuggies are awesome, still trending in my apartment anyways), and fill your belly with something warm & comforting, perhaps while watching the latest Twilight film on DVR? No? Ok, Harry Potter?
Anyways, for some reason this past weekend as the snow fell, a regular brownie just wouldn't satiate my appetite for something warm & chocolate-y. For an added kick, I splashed the batter with some cayenne pepper. This addition, plus some sour cream for balance & overall gooey goodness, brings just enough warmth to the palate to keep you coming back for more, while keeping you perfectly pleased as Edward & Jacob battle it out for Bella.... And the recipe couldn't be easier! You don't even need to melt any chocolate! Three days after they were baked, I enveloped the leftovers in cling wrap and brought them to work- just as moist as they were on day 1. Now you know you have to try these....


Spiced Chocolate Brownies with Chocolate Whipped Cream

Ingredients:
1/2 cup all purpose flour
1/3 cup unsweetened cocoa powder
1/4 tsp salt
1/4 tsp baking powder
1/4 tsp cayenne pepper
1 cup sugar
2 eggs
1 tsp vanilla extract
1 stick unsalted butter, melted
2 tbsp sour cream

In a microwaveable bowl, melt the butter until just melted. Do not boil or splatter! Let cool, and preheat oven to 350, and grease your 9inch brownie pan. Then, add the sugar to the butter and mix until combined. Add the eggs one at a time, along with the vanilla extract. Whisk until incorporated and smooth. Finally, add your flour, cocoa powder, cayenne pepper, and sour cream. Mix until the batter is fully formed, but no further! Do not overmix! Pour into brownie pan and bake 20-25 mins or until a toothpick comes out clean. (I like mine on the gooey side, so I pull mine out right before it firms up, and only a little batter gets stuck to the toothpick).

Chocolate whipped cream

1/2 cup heavy whipping cream
3-4 tbsp confectioner's sugar
2 tbsp cocoa powder
1/2 tsp vanilla extract

In a medium bowl, add the whipping cream and using an electric hand mixer (or whisk if you have the arm muscle, and patience!), begin to whip. When the cream begins to firm (about 2-3 minutes), add the sugar, cocoa powder, and vanilla extract. Whip up until firm peaks have formed, or you reach the desired consistency you prefer. For sweeter frosting, add more sugar, and cocoa powder for a deeper chocolate flavor. Serve as the brownies are still luke warm. I like mine warm, but be careful, the frosting will melt!

Happy wintery eats!

Friday, January 20, 2012

Devilishly good Blueberry Lemon Pound

Simple, delicious and healthy, this cake has NO BUTTER but is the most delicious thing you will ever eat! The smell of the vanilla and lemon zest was enough to drive me almost crazy with excitement! I used plump blueberries for this recipe, but the beauty of this cake is that you can substitute with strawberries, raspberries, blackberries….or heck make a tri-berry cake too!! Be adventurous and use orange zest instead of lemon and voila you have a whole new burst of flavor in your mouth! 


The original recipe called for plain yogurt, but when has plain ever been exciting? So I decided to use Vanilla Greek Yogurt instead, this added the extra moisture and vanilla flavor in the cake and gives it extra points for being a healthy dessert!

For the cake batter
1 1/2 cups all-purpose flour
2 teaspoons baking powder
1/2 teaspoon kosher salt
3/4 cup Vanilla Greek yogurt
1 cup sugar
3 eggs
2 teaspoons grated lemon zest (approximately 2 lemons)
1/2 teaspoon pure vanilla extract
1/2 cup vegetable oil
1 1/2 cups blueberries, always fresh! (also set aside 1 tablespoon of flour)

For the syrup
1 tablespoon sugar
The juice of 2 lemons


1.     Preheat the oven to 350°F. Grease loaf pan. You can also just use a larger baking deep dish or even muffin tins for this! Just remember to adjust cooking time and use the toothpick test to make sure it’s baked all the way through.
2.     Sift together 1 1/2 cups flour, baking powder, and salt into 1 bowl.
3.     In another bowl, whisk together the greek yogurt, sugar, eggs, lemon zest, vanilla and oil. Slowly whisk the dry ingredients into the wet ingredients.
4.     Mix the blueberries with 1 tablespoon of flour, and fold them very gently into the batter. This is to prevent them from sinking to the bottom.
5.     Pour the batter into the prepared pan and bake for about 45-40 minutes, or until it passes the toothpick test.
6.     In a saucepan, cook the lemon juice and sugar until the sugar dissolves and the mixture is clear. Set aside.

When the cake is done, allow it to cool in the pan for 10 minutes, then cool on a baking rack.
While the cake is still warm, pour the lemon-sugar mixture over the cake and allow it to soak in (you can poke tiny holes using a toothpick, so the syrup seeps all the way through)

Aaaand, it’s time to EAT!!

Thursday, January 12, 2012

White Bean Chile Chili !!!!

So, it's winter right? That means it is officially chili season. Monday night football is coming to a close (GO GIANTS!), and the blistery weather is here to stay for the long haul. There are probably 18,456 ways to make chili.... so here's one more for the ole' recipe box. When you are looking for a spicy chili with less calories, all the flavor and satisfaction, with a hint of fresh veggies, try this out. When the spiciness of the jalapeños with the smokiness of the cumin, and a lovely melted morsel of sour cream swirls into your spoon and envelopes your senses.. you will keep coming back for more and WON'T have to feel guilty about it. 


Ingredients


1 lb chicken breasts, diced in cubes
2 jalapenos, diced (if you aren't up for all that heat, remove the seeds and white membrane inside the jalapeno before cooking, that is where all the heat lies!)
1 large yellow onion
1 can white navy beans
2 cups unsalted chicken stock
4 cups water
3 tsp cumin
2 tsp adobo seasoning
salt & pepper
cherry tomatoes, low fat sour cream, fresh cilantro (for garnish)

Bring 2-3 tbsp olive oil up to heat in a large pot. Medium heat. Add the diced onion and jalapenos. Cook down for 3-5 minutes until become soft and translucent. Next, add salt, pepper, cumin, and adobo seasoning (don't have adobo? just add some garlic powder and a little extra black pepper). Stir the seasonings in well, then add the chicken. Season the chicken with salt & pepper & a dash more of cumin & adobo seasoning, and cook for 2-3 minutes until the skin is seared a little and it begins to cook through. Next, add the broth & water. Stir well, and lower heat to medium-low. Cover. Let it simmer for about 10-15 minutes. Lastly, add the drained & rinsed navy beans and cover for another 15 minutes. Serve in large bowls with a dollop of low fat sour cream, diced cherry tomatoes, and fresh cilantro. Enjoy!


Sunday, January 8, 2012

The Pinwheel Post

OK, I have to admit I'm addicted to Puff Pastry.  To the point that I'm seriously considering starting a Addicted to the Puff Annonymous support group; and if you've ever eaten or cooked with these delicate, flakey, buttery sheets; then I'm sure our weekend meetings will be standing room only!

I always have a pack of frozen Pastry sheets on hand, in my freezer. The possibilities are endless. Sweet or Savory. Appetizer, Entrees or Desserts! Fill them with meat, fruits, cramalized veggies, cheese or whatever your drug is! Need a quick idea for an appetizer for a dinner party? You got it! I made these delicious Pesto Pinwheels as well as Onion Marmalade Pinwheels for my dinner party and let me tell you, they were gone before I could say Holy Pinwheels!

Here's my version of these delicate pastries, I hope it inspires you to get in the kitchen and create your own version! Just don't forget to share your genius combinations with us!

Pistachio Pesto Pinwheels
For the pesto
1 bag of baby spinach leaves
2 bunches of fresh basil leaves
1/2 cup of unsalted Pistachios
3-4 cloves of fresh garlic
1/4 cup grated Parmasean cheese
Between 1/2 to 3/4 cups of Olive Oil
Salt and pepper to taste

1 sheet of thawed Puff Pastry sheet
4 tbsp of Flour
1/2 cup grated Parmasean cheese

1. In a food processor, add the spinach leaves, basil, garlic and pistachios and process until well minced.
2. Add salt and pepper and blend again to mix well. *** add less than you think is needed, you can always add more later!
3. While the processor is still running, drizzle the oil oil slowly and watch the pesto turn creamy and smooth.
4. Finally add the cheese and blend again.
Viola! Your Pesto is ready! Be sure to taste for salt and pepper and more if needed.

On a well floured surface, roll out your pastry sheet to an 1/2 inch thickness. Spread the pesto over the entire sheet, even all the corners and edges of the sheet.
Sprinkle with additional cheese and start rolling the sheet to form a cylinder.
Cut the roll in 1/2 inch pinwheels and lay cut side down on a baking sheet.
Bake at 375 degree fir about 25 minutes or until the pastry is brown and crispy.
Let them cool and store in a Tupperware container. You can store these in the fridge and just heat them a little in the oven for a delicious mid-night snack! Although, le me warm you, they may all be gone as soon as they come out of the oven!

My second version of the pinwheels was stuffed with my recipe of ONION MARMALADE, tomatoes, fresh basil leaves and mild cheddar cheese.


FINALLY, because by now I have created a Pinwheel Monster out of myself, I HAD to make a sweet version of these.
Check out the flaky, creamy, BISCOFF AND NUTELLA PINWHEELS! OMG! It's like Crack, seriously.


WHAT!!?? You don't know what Biscoff is!? I don't even know what to say right now, I need another Biscoff Nutella treat to get over this shock!

Wednesday, January 4, 2012

Turkey Meatball "Sub" with Pomegranate Reduction & Goat Cheese

... I know, I had you at "goat cheese."


In the spirit of all things healthy, January has got to be a month filled with more calorie-friendly versions of some of our usual favorite comfort foods. Last night I had a serious craving for a meatball sub. You remember the kind. Big meaty white bread with juicy meatballs, a heap of tomato sauce, and a lovely hunkin' melt of mozzarella cheese. Just slap it right to your thighs while you're at it.

Time for a meatball sub makeover. Substitute lean ground turkey for beef. A pomegranate reduction with caramelized onions, and some goat cheese... enveloped in a sweet whole wheat pita pocket and here you have a seriously AMAZING meal. You won't miss the beefy fattiness one bit. I promise!

Ingredients:

1 package whole wheat pita pockets
1 lb extra lean ground turkey
1 medium yellow onion
1 clove garlic
3 tbsp ketchup
2 tsp ginger plus 1 tsp ginger
1 tsp paprika
1 cup plain bread crumbs (whatever you have in your pantry will work just fine)
2 eggs
1/2 cup pure pomegranate juice (none of that concentrate crap)
salt & pepper
2 tbsp olive oil
crumbled goat cheese for topping

Begin by preheating your oven to 400F for the meatballs. Spray and line your baking sheet with parchment paper. Meanwhile, in a large bowl add the ground turkey, minced garlic clove, eggs, bread crumbs, ketchup, 2 tsp ginger, 1 tsp paprika, salt & pepper. Best to do this with your hands- get 'em dirty. Roll into 3 inch balls and place onto baking sheet (they will seem sticky, but that's what will make them moist! Just go with it). Bake for 15-20 min or until browned and firm to the touch. Slice one in half to make sure they are done.


For the pomegranate reduction:
In a medium sauté pan, add the olive oil and heat on medium. Add the diced onion, salt, pepper, 1 tsp ginger, and cook down for 3-5 minutes. Once they reduce in size and begin to caramelize, add the pomegranate juice. Turn the heat down a bit and let them slowly cook down as the meatballs bake in the oven.


Let everything cool, and assemble your sub. Top with crumbled goat cheese and enjoy!


Monday, January 2, 2012

Well hello there, 2012. What's cookin'?

Happy New Year's, all!!! Hoping you had a safe, fun, and enjoyable new year's celebration!

We celebrated here in the big apple with a massive spread of food, cupcakes (duh), and cocktails with good friends. A party tiara here & there, and you have one smashing evening. All of these little appetizers filled us up enough to keep us going in alcohol land, without weighing us down. Literally. Easy prep, easy clean up, and easy eating makes these goodies a hit at any party. Pizza, pastries, hummus, and mini cupcakes--- you just can't go wrong! Even my little man was waiting by the table for scraps.... with a tiara of course :) Cheers!!

Charlie, the "little man"


The Menu:

Whole wheat pizza with red-wine caramelized onions, sun dried tomatoes, and mozzarella cheese
Chicken sausage pizza with onions & fennel
Puff Pastries filled with blue cheese & balsamic glazed figs
Homemade hummus
Lemon, Blueberry, & Vodka spiked mini-cupcakes

OK, these are lots of items. I am going to start with the cupcakes. Dessert always comes first. And when you're hosting a little mini dinner party, bake all desserts first so they're nice and cooled and prepared by the time you get to serve them. I took my lemon cupcake recipe (found here) and topped them with a bluelberry buttercream with a splash of vodka. Make the cupcakes, let them cool and here's how to prepare the frosting:

Blueberry & vodka Buttercream:

Ingredients:
1 stick unsalted butter
1/2 cup favorite blueberry jam
zest of 1 lemon
1/4 cup citrus vodka (such as Absolut Citron)
2 1/2 cups confectioner's sugar

I actually make my own blueberry preserve. Easy peasy: reduce 1 pint blueberries, zest of 1 lemon, 1/4 cup sugar and 2 tsp corn starch dissolved in 1/4 cup water. Let this cook down until it reaches a jam consistency, roughly 45-50 minutes. Cool thoroughly then store in the fridge.

Whip your butter with half the sugar in a mixer. Then, add the vodka. Whip some more. Add the blueberries, and remaining sugar. Add more sugar if you like thicker frosting. More vodka flavor? Add more vodka. Want to make this virgin? Use milk to substitute the vodka.


Next up: Figs, Blue Cheese, and puff pastries & toasted pita. Yum! I let these black mission figs soak up some reduced balsamic vinegar for roughly 15-20 minutes. They become sticky, sweet, and amazingly moist. They can be stored, stuffed, diced, or devoured just as is. I for one think blue cheese & figs belong together like peanut butter & jelly. Try this dip out in any way you want. I used the left over dip with toasted pitas. Here's how it's done:

Ingredients:
1 8 oz package cream cheese
6 oz blue cheese (the creamier the better, cow's milk blue that crumbles easily)
1 cup diced black mission figs
1/2 cup balsamic vinegar
salt & pepper
2 tsp sugar
1 package store bought puff pastry (comes with 2 sheets)

Dice the figs up into medium size chunks, add to the pan with the balsamic vinegar and sugar. Leave on medium-low heat and let reduce down for roughly 20 minutes until the syrup is fully absorbed in the figs and they become sticky and soft. Meanwhile, whip the cream cheese, blue cheese, salt & pepper together in a large bowl. Additionally, fold out your puff pastry sheets. Put 2 tsp of the filling onto one half of the sheet. Top with 2-3 of the fig chunks. Be sure to leave about 1 inch between fillings, and only cover half the sheet. When covered, fold the puff pastry over. Take a pastry brush and dust the edges with milk or egg wash so you can seal them up. Seal, dice, and place the pastries on a baking sheet. Bake at 400F for roughly 15 minutes or until edges browned and pastry... puffs up!

If you don't use the pastry method, Take the cheese dip, place into a bowl, top with the figs, and serve with toasted pita chips or crostini's.


I have to say, though. As great as the figs are. The pizzas were a bigger hit. I mean, who doesn't love pizza? The options are endless, and it's so hard to screw up pizza. Buy some dough, and you have dinner in less than 30 minutes. OK, pizza dough is always better home-made... but this is NYC. There is great pizza dough to be bought at just about every corner bake shop. Grocery store, or deli. Check out your local favorite places, they sell their dough, all you have to do is ask! 

Pizza #1: Sun Dried Tomatoes & Red Wine Onions

Whole wheat pizza dough
1 cup sun dried tomatoes, chopped
1 medium yellow onion, chopped
1/4 cup dry red wine, whatever you have open
1/3 cup tomato sauce
2 cups mozzarella cheese, shredded
salt, pepper 
olive oil

Begin by coating the pan with a few tbsps of olive oil, and sautee the onions on medium-low heat. Don't burn, but let them cook down. Once they have reduced in size and begun to caramelize, add the sun dried tomatoes. Let cook for 5-10 minutes until the tomatoes soften, then add the wine. Let it cook out for 2-5 minutes then add the tomato sauce. Let this thicken for another 10 minutes. Meanwhile, take your pizza dough, roll out on a floured surface and add to your non stick pizza or cookie pan. Bake at 400F (or to the dough's instructions) for 15 minutes. Remove, add the sun dried tomato & onion reduction. Top with a generous heap of mozzarella cheese and bake another 15-20 minutes or until cheese is fully melted and brown around the edges. Cool, slice, serve.

Pizza #2: Sausage & Fennel

Ingredients:

1 lb chicken sausage with italian herbs (or your favorite store bought sausage, with neutral ingredients or italian seasonings)
1 small fennel bulb
1/8 cup diced fennel fronds (the leaves at the end of the bulb that looks like herbs)
1 medium white or yellow onion
2 cups shredded mozzarella cheese
salt, pepper, garlic salt

Preheat your oven to 400F, or to dough's instructions. Roll out your dough and bake until half cooked, 15 minutes or so. Meanwhile, reduce your diced onion & fennel bulb in olive oil, salt, pepper, and garlic salt on medium heat. Once it begins to reduce and soften, add your sausage. Let the meat cook thoroughly and marry with the onion fennel mixture for about 15 minutes. When all is done, add to the half cooked pizza dough, top with the mozzarella cheese, and bake until edges browned and cheese is melted and gooey. Cool, slice, serve!


Last but certainly NOT least.... The Best Hummus, and easiest recipe, you will ever make. You won't go back to the store bought stuff anytime soon, promise! 

Ingredients:

1 can chick peas
1 lemon
1 clove garlic
1 tsp salt
3-4 tbsps tahini (sesame seed paste)

Get out your blender. Open the chick peas, and drain about 1/3 of the juice of. Pour remainder into the blender. Add the garlic clove, juice of 1 lemon, salt, and tahini. Blend until smooth & creamy. Pour into a bowl, sprinkle with paprika and a dollup of olive oil. Serve with veggies and pita chips! Yum!


I served everything with some sliced veggies, crackers, pita chips, wine, and a killer champagne punch. A bottle of Jameson may have made an appearance, I'll plead the 5th on that.
HAPPY 2012 EVERYONE! Here's to hoping your resolutions stick around this year.